Send Email
The Send Email node sends an email as part of your workflow. Use it for notifications, alerts, confirmations, reports, or any automated email communication.
There are two email nodes:
| Node | Type | Credits | Description |
|---|---|---|---|
| Send Email | General | – | Send to any recipient with full configuration |
| Send Email to Yourself | SELF_EMAIL | – | Always sends to your account email, for debugging and personal alerts |
Send Email: Configuration
| Field | Type | Required | Description |
|---|---|---|---|
| To | FX formula | Yes | Recipient email. Supports variables: {{trigger.body.email}} |
| Subject | FX formula | Yes | Email subject line. Supports variables. |
| Body | FX formula | No | Email content: plain text or HTML |
| CC | FX formula | No | Carbon copy recipients (comma-separated) |
| BCC | FX formula | No | Blind carbon copy recipients |
| Reply-to | FX formula | No | Reply-to address (defaults to your account email) |
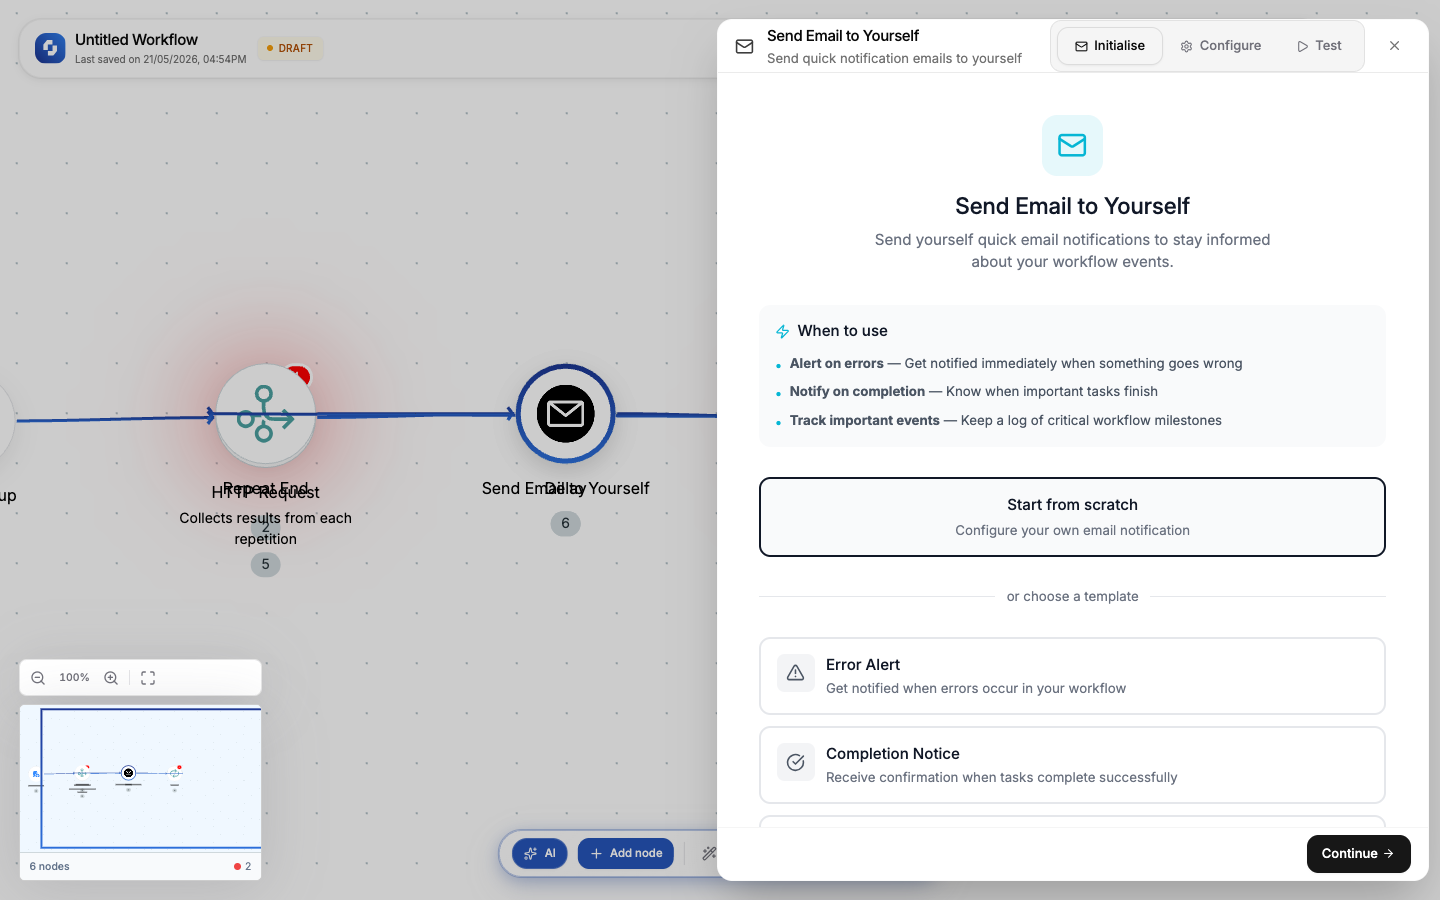
Send Email to Yourself: Configuration
Simpler version that always sends to the logged-in user's email:
| Field | Type | Required | Description |
|---|---|---|---|
| Priority | Select | No | LOW, NORMAL (default), HIGH, URGENT |
| Subject | FX formula | Yes | Email subject line |
| Body | FX formula | No | Email body text |
Templates:
- Error Alert: HIGH priority, pre-filled with error subject
- Completion Notice: NORMAL priority
- Daily Summary: LOW priority
Using variables in emails
Reference data from any previous node:
Subject: New lead: {{trigger.body.name}} from {{trigger.body.company}}

Body:
Hi team,

New form submission received:

Name: {{trigger.body.name}}
Email: {{trigger.body.email}}
Company: {{trigger.body.company}}
Message: {{trigger.body.message}}

Lead score: {{analyzer.result.score}}/100
Classification: {{analyzer.result.category}}
HTML email support
The body field supports HTML. Write HTML directly for formatted emails:
<h2>New Order Received</h2>
<p>Order #{{trigger.body.order_id}} from {{trigger.body.customer_name}}</p>
<table>
  <tr><td>Product</td><td>{{trigger.body.product}}</td></tr>
  <tr><td>Amount</td><td>${{trigger.body.amount}}</td></tr>
  <tr><td>Status</td><td>Confirmed</td></tr>
</table>
<a href="https://app.tinycommand.com/orders/{{trigger.body.order_id}}">View Order</a>
For rich, designed emails with drag-and-drop editing, use TinyEmails to build the template first, then export the HTML and paste it into the Send Email body. The Send Email node is best for simple transactional messages; TinyEmails is for designed marketing emails.
Common patterns
Form submission alert
Form Submission → Send Email (notify team) + Send Email (confirmation to submitter)
Error notification
HTTP Request → If-Else (status != 200) → Send Email to Yourself (HIGH priority error alert)
Daily digest
Schedule (daily 9am) → Find All (get today's records) → Transformer (build summary) → Send Email (digest to team)
Conditional recipient
Trigger → If-Else (check priority) →
  HIGH: Send Email (to on-call@team.com)
  LOW: Send Email (to support-queue@team.com)
Debugging with Send Email to Yourself
The "Send Email to Yourself" node is a quick debugging tool:
- Add it after any node in your workflow
- Set the subject to describe what you're checking
- Set the body to
{{previous_node.output}} - Run the workflow; you get an email with the exact data at that point
This is faster than checking execution history for quick debugging during development.
Send Email sends real emails, even during test runs. Use "Send Email to Yourself" during development to avoid accidentally emailing customers.
Email delivery depends on your workspace's email sending configuration. Emails are sent from the workspace's configured sender address. Check your spam folder if test emails don't arrive.