Export Guide
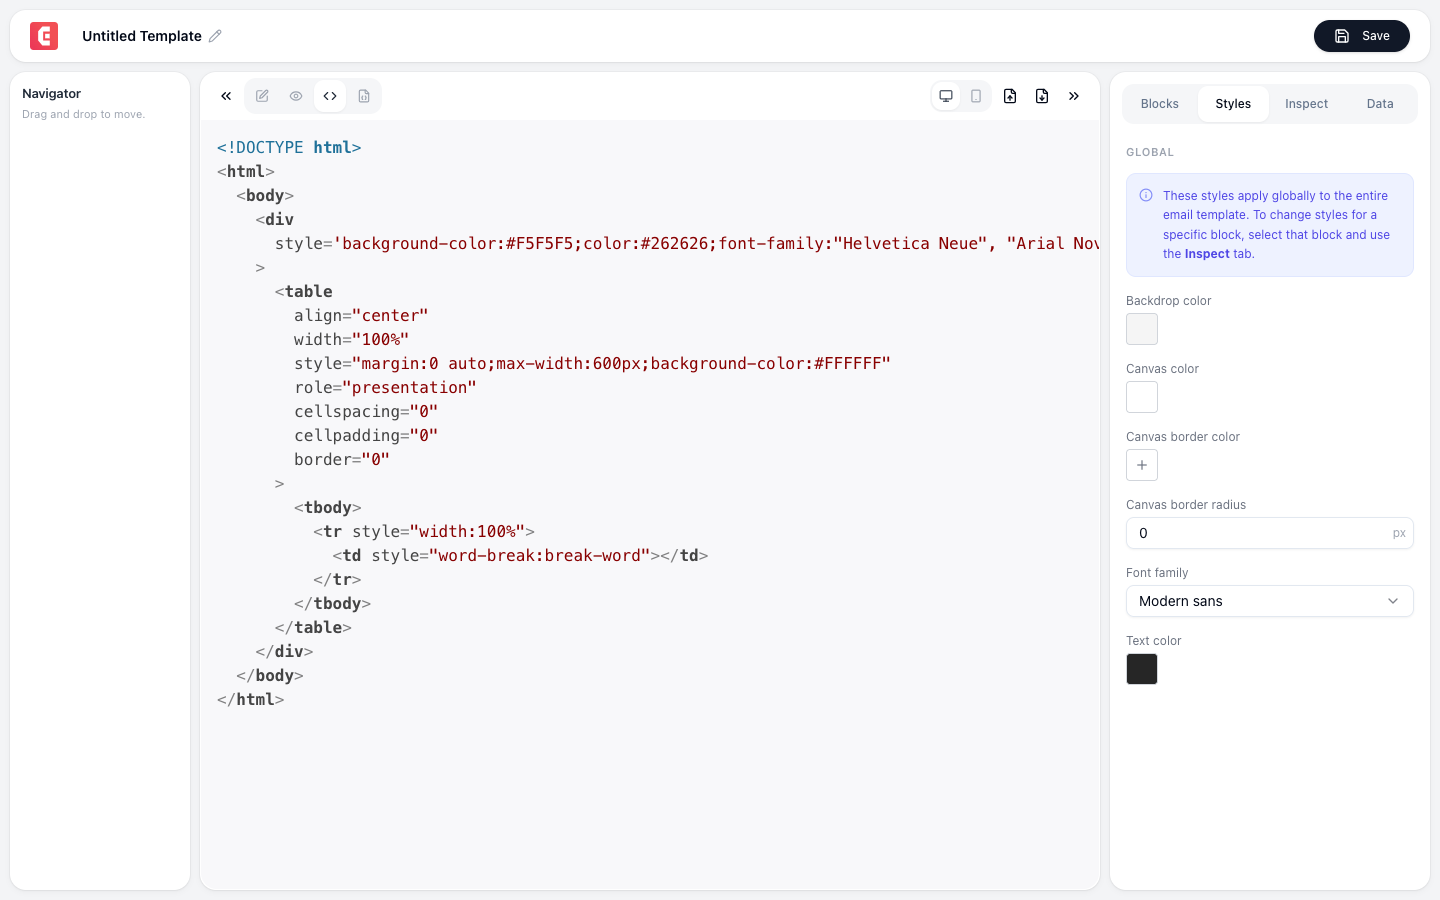
TinyEmails exports templates in two formats: JSON (for re-importing) and HTML (for sending via any email provider).
JSON export
When to use
- Save a backup of your template
- Version control (store in git)
- Share templates between workspaces
- Create a template library
How to export
- Click Export in the editor toolbar
- Select JSON
- Download the
.jsonfile
Re-importing
- Create a new email (or open an existing one)
- Click Import → select the JSON file
- The template loads into the editor
HTML export
When to use
- Send via Amazon SES, SendGrid, Mailchimp, or any email provider
- Embed in a website as a landing page
- Use as a transactional email template
How to export
- Click Export → HTML
- Review the rendered HTML
- Copy or download
What's included
| Feature | Included? |
|---|---|
| Inline CSS | Yes (all styles are inlined for email client compatibility) |
| Responsive CSS | Yes (media queries for mobile rendering) |
| Image URLs | Yes (absolute URLs to hosted images) |
| Alt text | Yes (from your block configuration) |
| Doctype | Yes (proper HTML email doctype) |
| Head/meta | Yes (charset, viewport, email client meta tags) |
Using with email providers
| Provider | How to use the HTML |
|---|---|
| Amazon SES | Create a template → paste HTML → send via API |
| SendGrid | Dynamic Templates → paste HTML → use with API |
| Mailchimp | Campaign → Custom HTML → paste → send |
| Postmark | Templates → HTML → paste → send via API |
| SMTP | Set HTML as the email body in your send call |
Sending a design from TinyCommand
A workflow can't send a TinyEmails design. To send one to a list of people, use TinyCampaigns: it sends your design to a TinyTables list and fills each {{field}} from that person's row.
Tip
For your own alerts, the workflow Send Email to Yourself node accepts an HTML body, so you can paste exported HTML there and add workflow variables.