Getting Started
This guide walks you through creating an AI agent, configuring its identity and capabilities, and deploying it as a chat widget.
Create an agent
- Go to Build → Agents → + Create Agent
- Choose a template:
- Customer Support: pre-configured for answering questions
- Content Writer: focused on generating written content
- Data Analyst: configured for data analysis
- Code Assistant: developer-oriented
- Start from scratch: empty configuration
- Name your agent and click Create
- You'll land in the Agent Studio
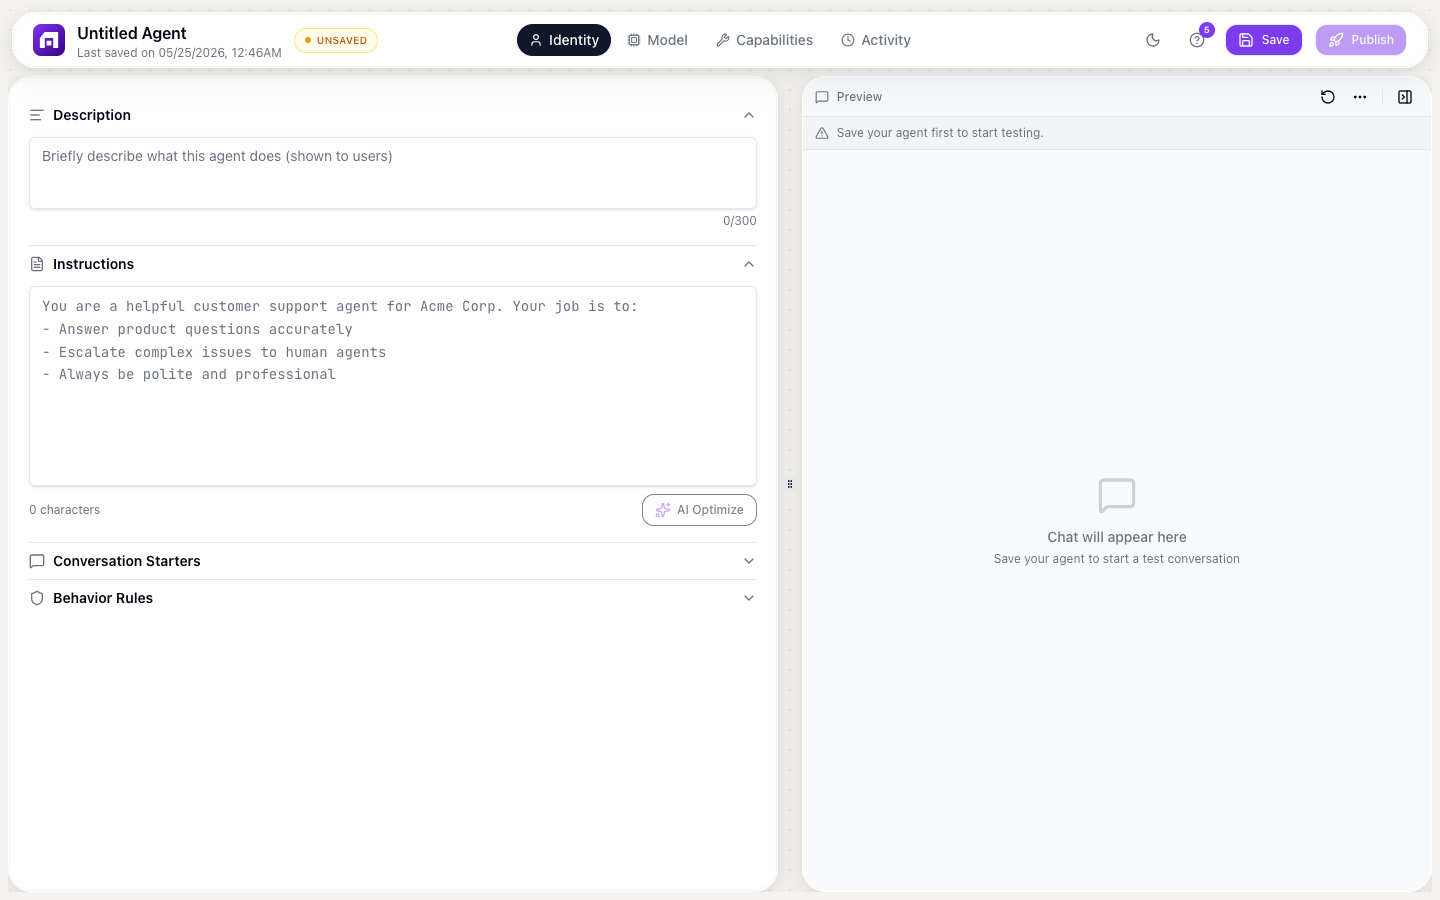
Set the identity
On the Identity tab, configure how your agent behaves:
Instructions (system prompt)
Write clear instructions telling the agent what it is and how to behave:
You are a customer support agent for TinyCommand. You help users with
questions about workflows, forms, tables, emails, and agents. You are
friendly, concise, and always reference the documentation when possible.
If you don't know the answer, say so instead of guessing.
Click AI Optimize to let AI improve your instructions automatically.
Conversation starters
Add suggested prompts that users see when they first open the chat:
- "How do I create a workflow?"
- "What integrations are available?"
- "Help me set up email automation"
Behavior rules
Add hard guardrails (rules the agent ALWAYS follows, regardless of user input):
- "Never share internal pricing information"
- "Always recommend contacting support for billing questions"
- "Do not generate code in languages other than JavaScript and Python"
Add capabilities
On the Capabilities tab, give your agent tools and knowledge:
Knowledge base
Upload documents the agent can reference:
- Click + Add file
- Upload PDF, DOCX, TXT, or CSV files (up to 10MB each)
- Wait for processing (status shows in the file list)
- The agent can now answer questions from this content
Prebuilt sub-agents
Toggle on specialized sub-agents:
- Tiny Scout: lets the agent research companies and prospects
- Tiny Composer: lets the agent write personalized outreach
- Company Enricher: lets the agent look up company data
- Person Enricher: lets the agent find contact information
Custom tools
Connect TinyWorkflow automations as tools:
- Create a workflow that accepts input and produces output
- Click + Add custom tool
- Connect it to the workflow
- The agent can now execute the workflow as part of conversations
Choose a model
On the Brain tab, select the AI model:
| Provider | Models | Best for |
|---|---|---|
| OpenAI | GPT-4o, GPT-4o-mini, GPT-3.5 | General purpose, most popular |
| Anthropic | Claude 3.5 Sonnet, Claude 3 Haiku | Long-context, nuanced responses |
| Gemini Pro | Multi-modal, image understanding | |
| Mistral | Mistral Large, Small | Fast, cost-effective |
| TinyGPT | Default | Built-in, no API key needed |
Set Temperature (0 = deterministic, 1 = creative) and Max tokens (response length limit).
Start with TinyGPT if you don't have API keys; it works out of the box. Switch to GPT-4o or Claude for more complex tasks.
Deploy
Step 1: Customize appearance
Set avatar, chat color, font, and toggle audio input / file attachments.
Step 2: Publish
Click Publish to generate a public URL. Your agent is now accessible at that URL.
Step 3: Embed on your website
Choose an embed mode and copy the script tag:
<script src="https://agents.tinycommand.com/embed/YOUR_AGENT_ID.js"></script>
The most common embed mode is Corner Button, a floating chat icon in the bottom-right corner of your website.
Test your agent
Before deploying to production:
- Open the Activity tab to see the live conversation log
- Use the public URL to chat with your agent
- Test edge cases: questions outside its scope, ambiguous queries
- Adjust instructions and behavior rules based on the results
Agents consume credits per interaction. Monitor usage in the platform's Credit Usage section. The cost depends on the model tier selected.
You can change the model, instructions, and capabilities anytime; just click Republish after saving changes.