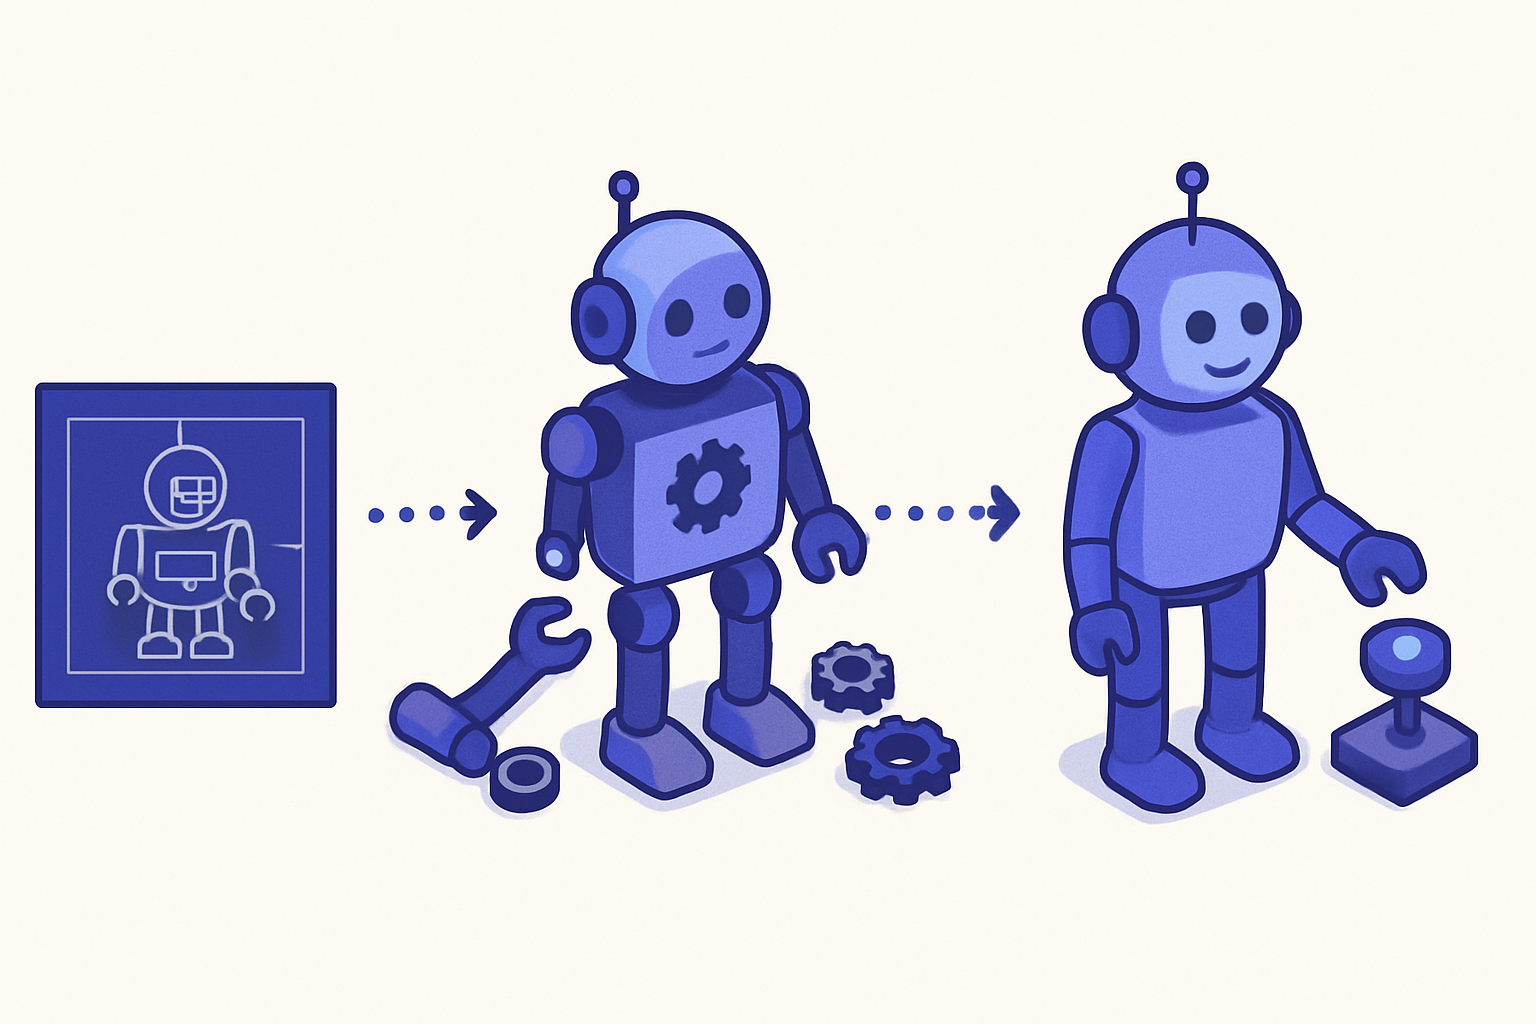
How to Build an AI Agent Without Code (Step-by-Step, 2026)
How to Build an AI Agent Without Code (Step-by-Step, 2026)
TL;DR: Building an AI agent without code takes four things: a clear goal, a set of tools the agent can use, a set of guardrails defining what it must not do alone, and a platform that connects them. This guide walks through each step using a real business process so you can follow along and deploy your first agent today.
Most tutorials on building AI agents are written for developers. They start with Python, APIs, and LangChain before they ever get to the part where the agent actually does something useful.
This guide skips all of that. You do not need code. You need a clear process, the right platform, and a way to think about what agents can and cannot be trusted to do alone.
By the end of this guide, you will have built a working agent that qualifies leads, answers customer questions, or triages support requests — whichever fits your business first.
What You Need Before You Start
Before opening any platform, answer three questions on paper or in a doc:
1. What is the one process this agent will own?
Not "automate customer service." Specific: "When a contact form is submitted, qualify the lead and route it to the right sales rep."
2. What information does the agent need to make the right decision?
For a lead routing agent: the lead's company size, industry, current tool stack, and what they said in the form.
3. What should the agent never do without a human approving first?
For lead routing: never contact a competitor's customer. Never assign a lead marked as a duplicate. Never send an outbound message if the CRM shows an active deal in progress.
These three answers are more important than any platform feature. Get them right and the technical build is fast. Skip them and you will rebuild the agent three times.
Step 1: Choose the Right Type of Agent for Your Task
Not every task needs the same kind of agent. Anthropic's research on AI agents distinguishes between agents that follow a script (orchestration agents) and agents that reason at each step (reasoning agents). For most business tasks, you want a reasoning agent — one that reads context and decides, rather than running the same path every time.
For your first agent, pick a task that:
- Happens frequently (at least daily)
- Has 2-4 meaningful variations in how it should be handled
- Is low-stakes enough that a mistake is correctable
Good first agents: lead qualification, support triage, onboarding check-ins, document extraction, content review. Bad first agents: financial approvals, legal document review, anything that affects billing or account access.
Step 2: Map the Process in Plain Language
Write the agent's job description as if you were hiring a junior employee. Include:
- The trigger: what starts the process
- The information the agent will have access to
- The steps it should follow
- The decisions it needs to make
- The actions it can take
- The cases where it must stop and ask a human
Here is an example for a lead qualification agent:
Trigger: New form submission from the Contact page.
Information available: Form fields (name, company, email, message), company lookup via Clearbit, CRM record if one exists.
Steps: Read the form. Look up the company. Check CRM for existing deals. Determine lead tier based on company size and message intent.
Decisions: Route to enterprise sales (200+ employees), SMB sales (10-200), or self-serve nurture (under 10 / unclear intent).
Actions: Create a CRM lead record, assign to the right rep, send a routing notification to Slack, send an acknowledgment email to the lead.
Escalate if: Company is a known competitor, existing deal is already open, message contains a complaint rather than a purchase inquiry.
This description is your agent's instruction set. Keep it specific. Vague instructions produce inconsistent behavior.
Step 3: Connect the Tools Your Agent Needs
An AI agent without tools can only generate text. For the lead qualification example above, the agent needs access to:
- Your contact form (to receive the trigger and read the fields)
- A company data source (Clearbit, Apollo, or your own enrichment)
- Your CRM (to check existing deals and create new records)
- Slack or email (to send the routing notification)
TinyAgents connects natively to TinyForms (your form), TinyTables (your database), and TinyWorkflows (your automation). For external tools, you connect via API keys or OAuth.
The principle here: give the agent access to exactly what it needs and nothing more. A lead qualification agent does not need write access to your billing system. Scope your tool access to the process.
Step 4: Write the Agent Instructions
Your agent's instructions are the most important thing you will build. They determine the quality of every decision the agent makes.
Good instructions are:
Specific about context. Not "qualify leads." But: "A lead is enterprise-tier if the company has 200 or more employees OR if the message mentions 'enterprise', 'procurement', 'team of', or 'company-wide'. Route enterprise-tier leads to the enterprise queue."
Clear about exceptions. "If the company domain matches any domain in the Competitors list in TinyTables, do not create a CRM lead. Log it in the Competitor Contacts table and notify the product team in Slack."
Honest about uncertainty. "If you cannot determine company size from the form data or lookup, route to SMB sales and flag the record as 'unverified tier' for manual review."
Write instructions the way you would write a Standard Operating Procedure for a new employee. The agent cannot read between the lines. It will do exactly what the instructions say in situations the instructions cover, and will guess in situations they do not. Cover the common edge cases explicitly.
Step 5: Set Guardrails
Guardrails are rules the agent must follow regardless of what its reasoning suggests. They are not part of the instructions — they are constraints on top of the instructions.
Common guardrails for business agents:
- Value threshold: "If the estimated deal value is over $50,000, notify a human before taking any action."
- Recency check: "If a human has interacted with this lead in the last 7 days, do not send any automated messages."
- Sensitive data: "Never include credit card numbers, passwords, or social security numbers in any message or log."
- External communication limit: "Do not send any outbound email without a human-readable preview being logged."
McKinsey's research on responsible AI deployment consistently shows that the teams getting the most value from AI agents are those who define failure modes before deployment, not after. Guardrails are your failure mode prevention layer.
In TinyAgents, guardrails are set as hard conditions in the agent configuration. The agent cannot override them through reasoning.
Step 6: Test with Real Scenarios
Before going live, run at least 15 test cases through the agent. Structure your test cases in three categories:
Normal cases (8 tests): The typical scenarios the agent will handle most of the time. Enterprise lead from a large company, clear SMB submission, self-serve inquiry with no company info.
Edge cases (5 tests): The unusual situations your instructions might not cover perfectly. Blank form fields. A lead from a country your sales team does not cover. A message in a language the agent was not instructed to handle.
Adversarial cases (2 tests): Inputs designed to confuse or trick the agent. A message that sounds like a purchase inquiry but is actually a support complaint. A form submission with a competitor's domain disguised as a customer domain.
For each failed test, update the instructions or guardrails before running again. Do not go live until all 15 pass.
Step 7: Deploy Supervised, Then Autonomous
For the first two weeks, run the agent in review mode: it prepares all actions (drafts the Slack message, creates the CRM record, selects the routing destination) but a human approves each batch before anything is sent.
This review period lets you catch instruction gaps with no downside. You see exactly what the agent would have done and correct the cases where it was wrong.
After two weeks of clean supervised operation, move to autonomous mode for the cases you trust. Keep supervised mode for the edge cases your guardrails flag.
IBM's framework for AI agent deployment calls this "graduated autonomy" — expanding what the agent can do alone based on demonstrated reliability, not assumed reliability.
Step 8: Monitor and Improve
A deployed agent is not finished. Monitor two things weekly:
Escalation rate. If the agent is escalating more than 20-30% of cases, your instructions are too vague or your guardrails are too conservative. If it is escalating less than 5%, either the process has no real variation or the guardrails are too permissive.
Outcome quality. Check a random sample of cases the agent handled autonomously. Are the CRM records accurate? Are the routing decisions correct? Are customers responding positively to the agent's outreach? Outcome quality tells you what the escalation rate does not.
When you find gaps, update the instructions. This improvement loop is how agents get better over time. See our guide on agentic workflows for how to structure the ongoing improvement cycle.
Your First Agent in Practice
The fastest path to a working agent is TinyAgents paired with TinyForms and TinyWorkflows. The three work together out of the box:
- TinyForms captures the trigger (form submission)
- TinyWorkflows handles the reliable sequential steps (create record, send confirmation)
- TinyAgents handles the decision points (qualify, route, respond)
No Zapier. No custom code. No middleware. The agent reads form data, reasons about the right action, and uses the connected tools to act.
Free to start. The full platform — forms, tables, workflows, and agents — is $19/month on the Starter plan.
The businesses getting the most from AI agents right now picked one process, mapped it clearly, and deployed in a week. The ones still waiting are designing the perfect agent for every process at once.
Start with one. Get it working. Expand from there.
Frequently Asked Questions
How long does it take to build an AI agent without code?
For a well-defined process like lead qualification or support triage, expect 2-4 hours to build and configure the agent, plus 1-2 weeks of supervised testing before full autonomous deployment. The time investment is front-loaded in mapping the process and writing clear instructions. The platform configuration itself is usually under an hour.
What is the most common mistake people make when building their first AI agent?
Trying to automate too much at once. Agents that handle one well-defined process with clear guardrails outperform agents that are given broad responsibility and vague instructions. Build narrow and deep before building wide. Your second agent will take half the time because you will understand the instruction-writing process.
Do I need to know how AI works to build an AI agent?
No. You need to understand your business process, not the underlying AI. The platforms handle the LLM routing, tool calling, and memory management. Your job is to write clear instructions about what the agent should do in specific situations, set guardrails for what it must escalate, and monitor the outcomes.
Can an AI agent replace a human employee?
For specific, well-defined tasks, agents reduce the time humans spend on them significantly. A lead qualification agent that handles 80% of incoming leads autonomously is not replacing a sales rep — it is giving that rep back 10+ hours per week to focus on the 20% of leads that need human judgment. Agents handle volume and consistency. Humans handle nuance and relationship.
What tools can AI agents connect to?
Most modern no-code agent platforms connect to CRMs (Salesforce, HubSpot), databases, email (Gmail, Outlook, custom SMTP), Slack, form tools, spreadsheets, and external APIs. TinyAgents connects natively to TinyForms, TinyTables, and TinyWorkflows, plus external integrations via API keys. The limiting factor is not available connections but scope — give the agent access only to what it needs for the specific process.