User-triggered email automation: How to get started?
User-activated email automation is changing the way businesses communicate with their customers. With triggering automated emails based on user actions or behaviors, it ensures that communication is both timely and relevant.
For example, a "welcome email" sent immediately after registration or an abandoned cart reminder encouraging you to complete the purchase are prime examples of user-activated emails that capture attention at key moments.
While these emails may require some effort to set up, they can significantly enhance engagement and conversion for businesses aiming to scale their impact. By automating repetitive tasks, they save teams valuable time and have become an indispensable strategy for growth.
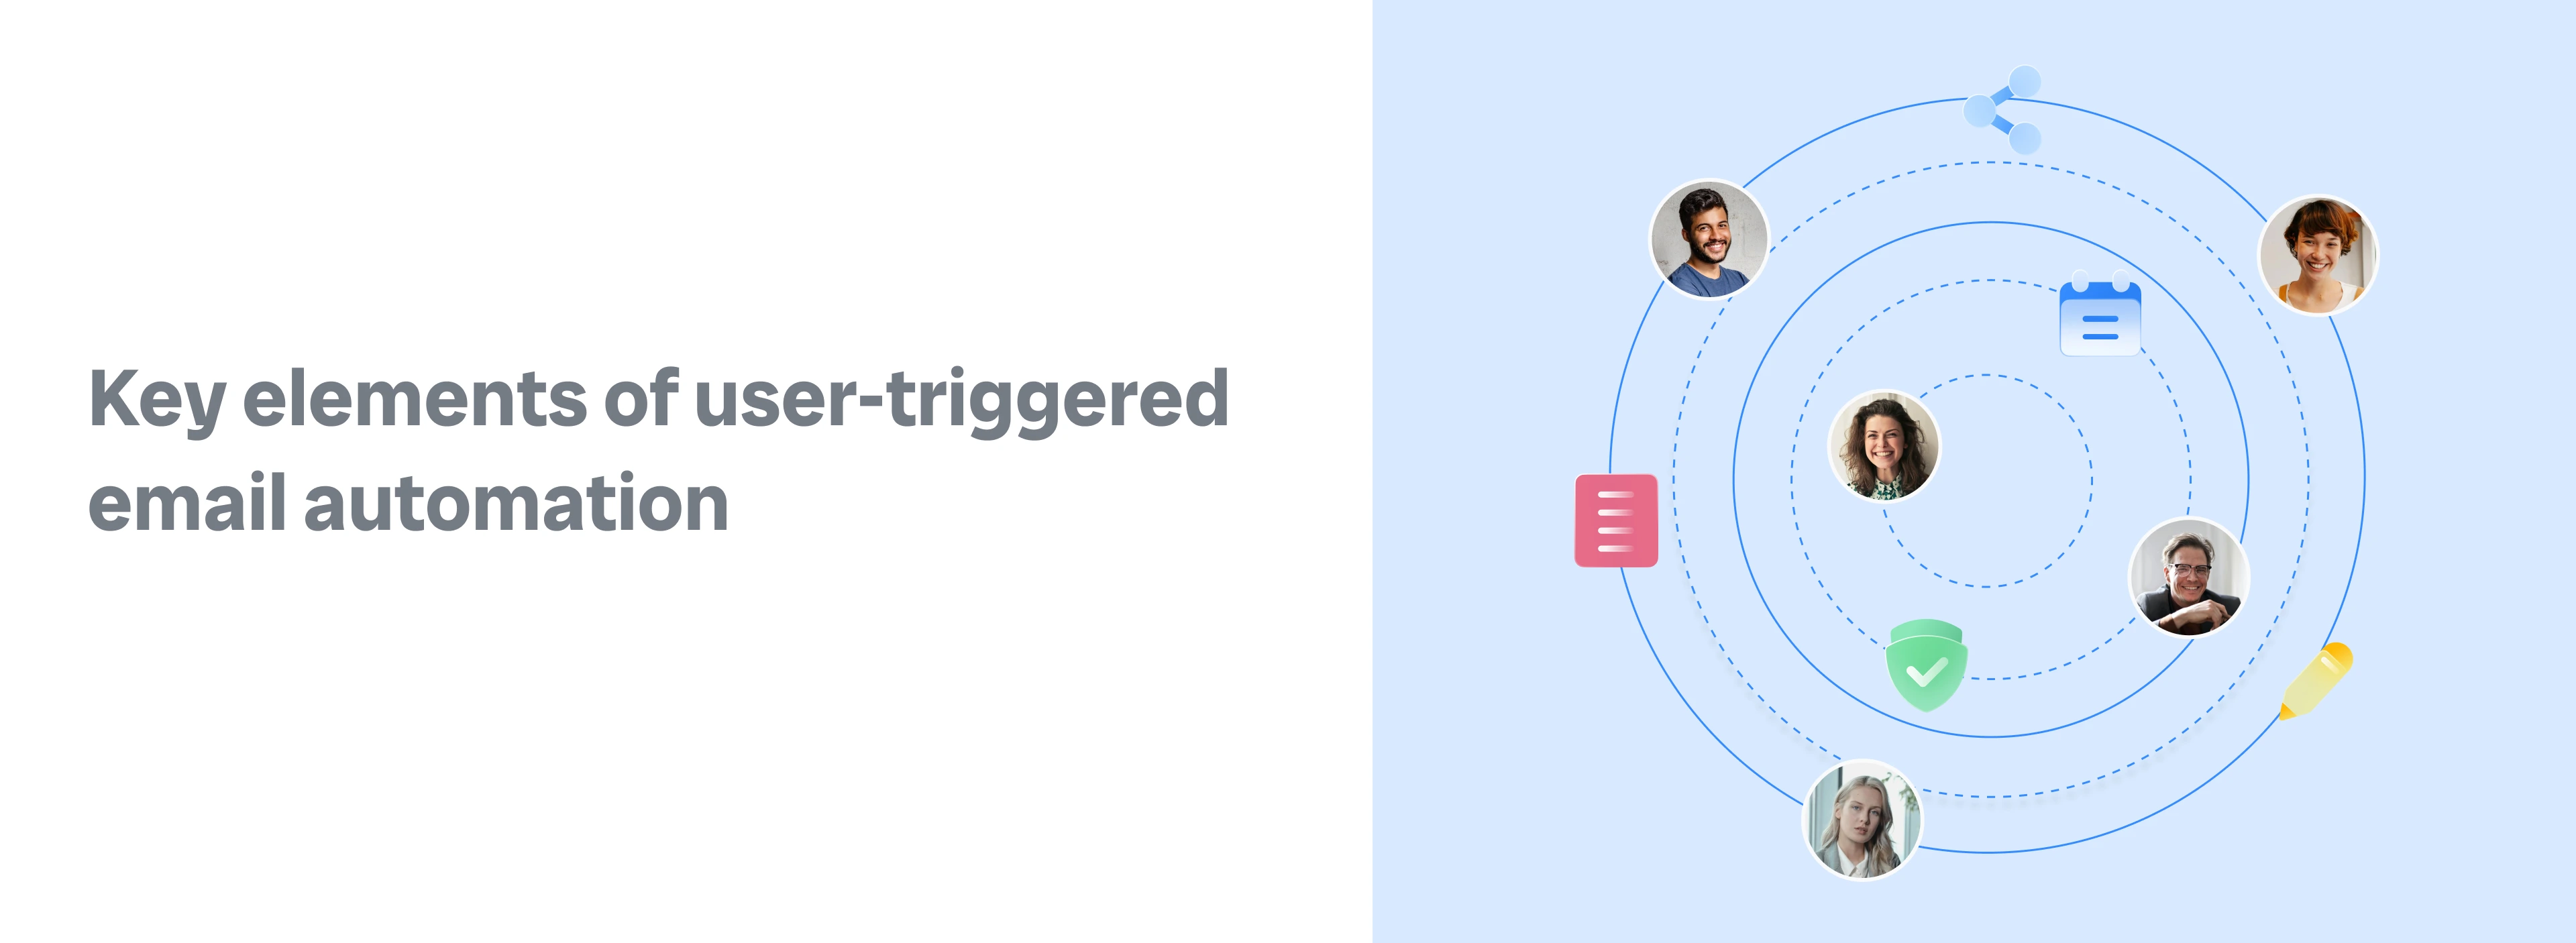
User-triggered email automation helps the company get better engagement and conversions. Here are some key elements of it:
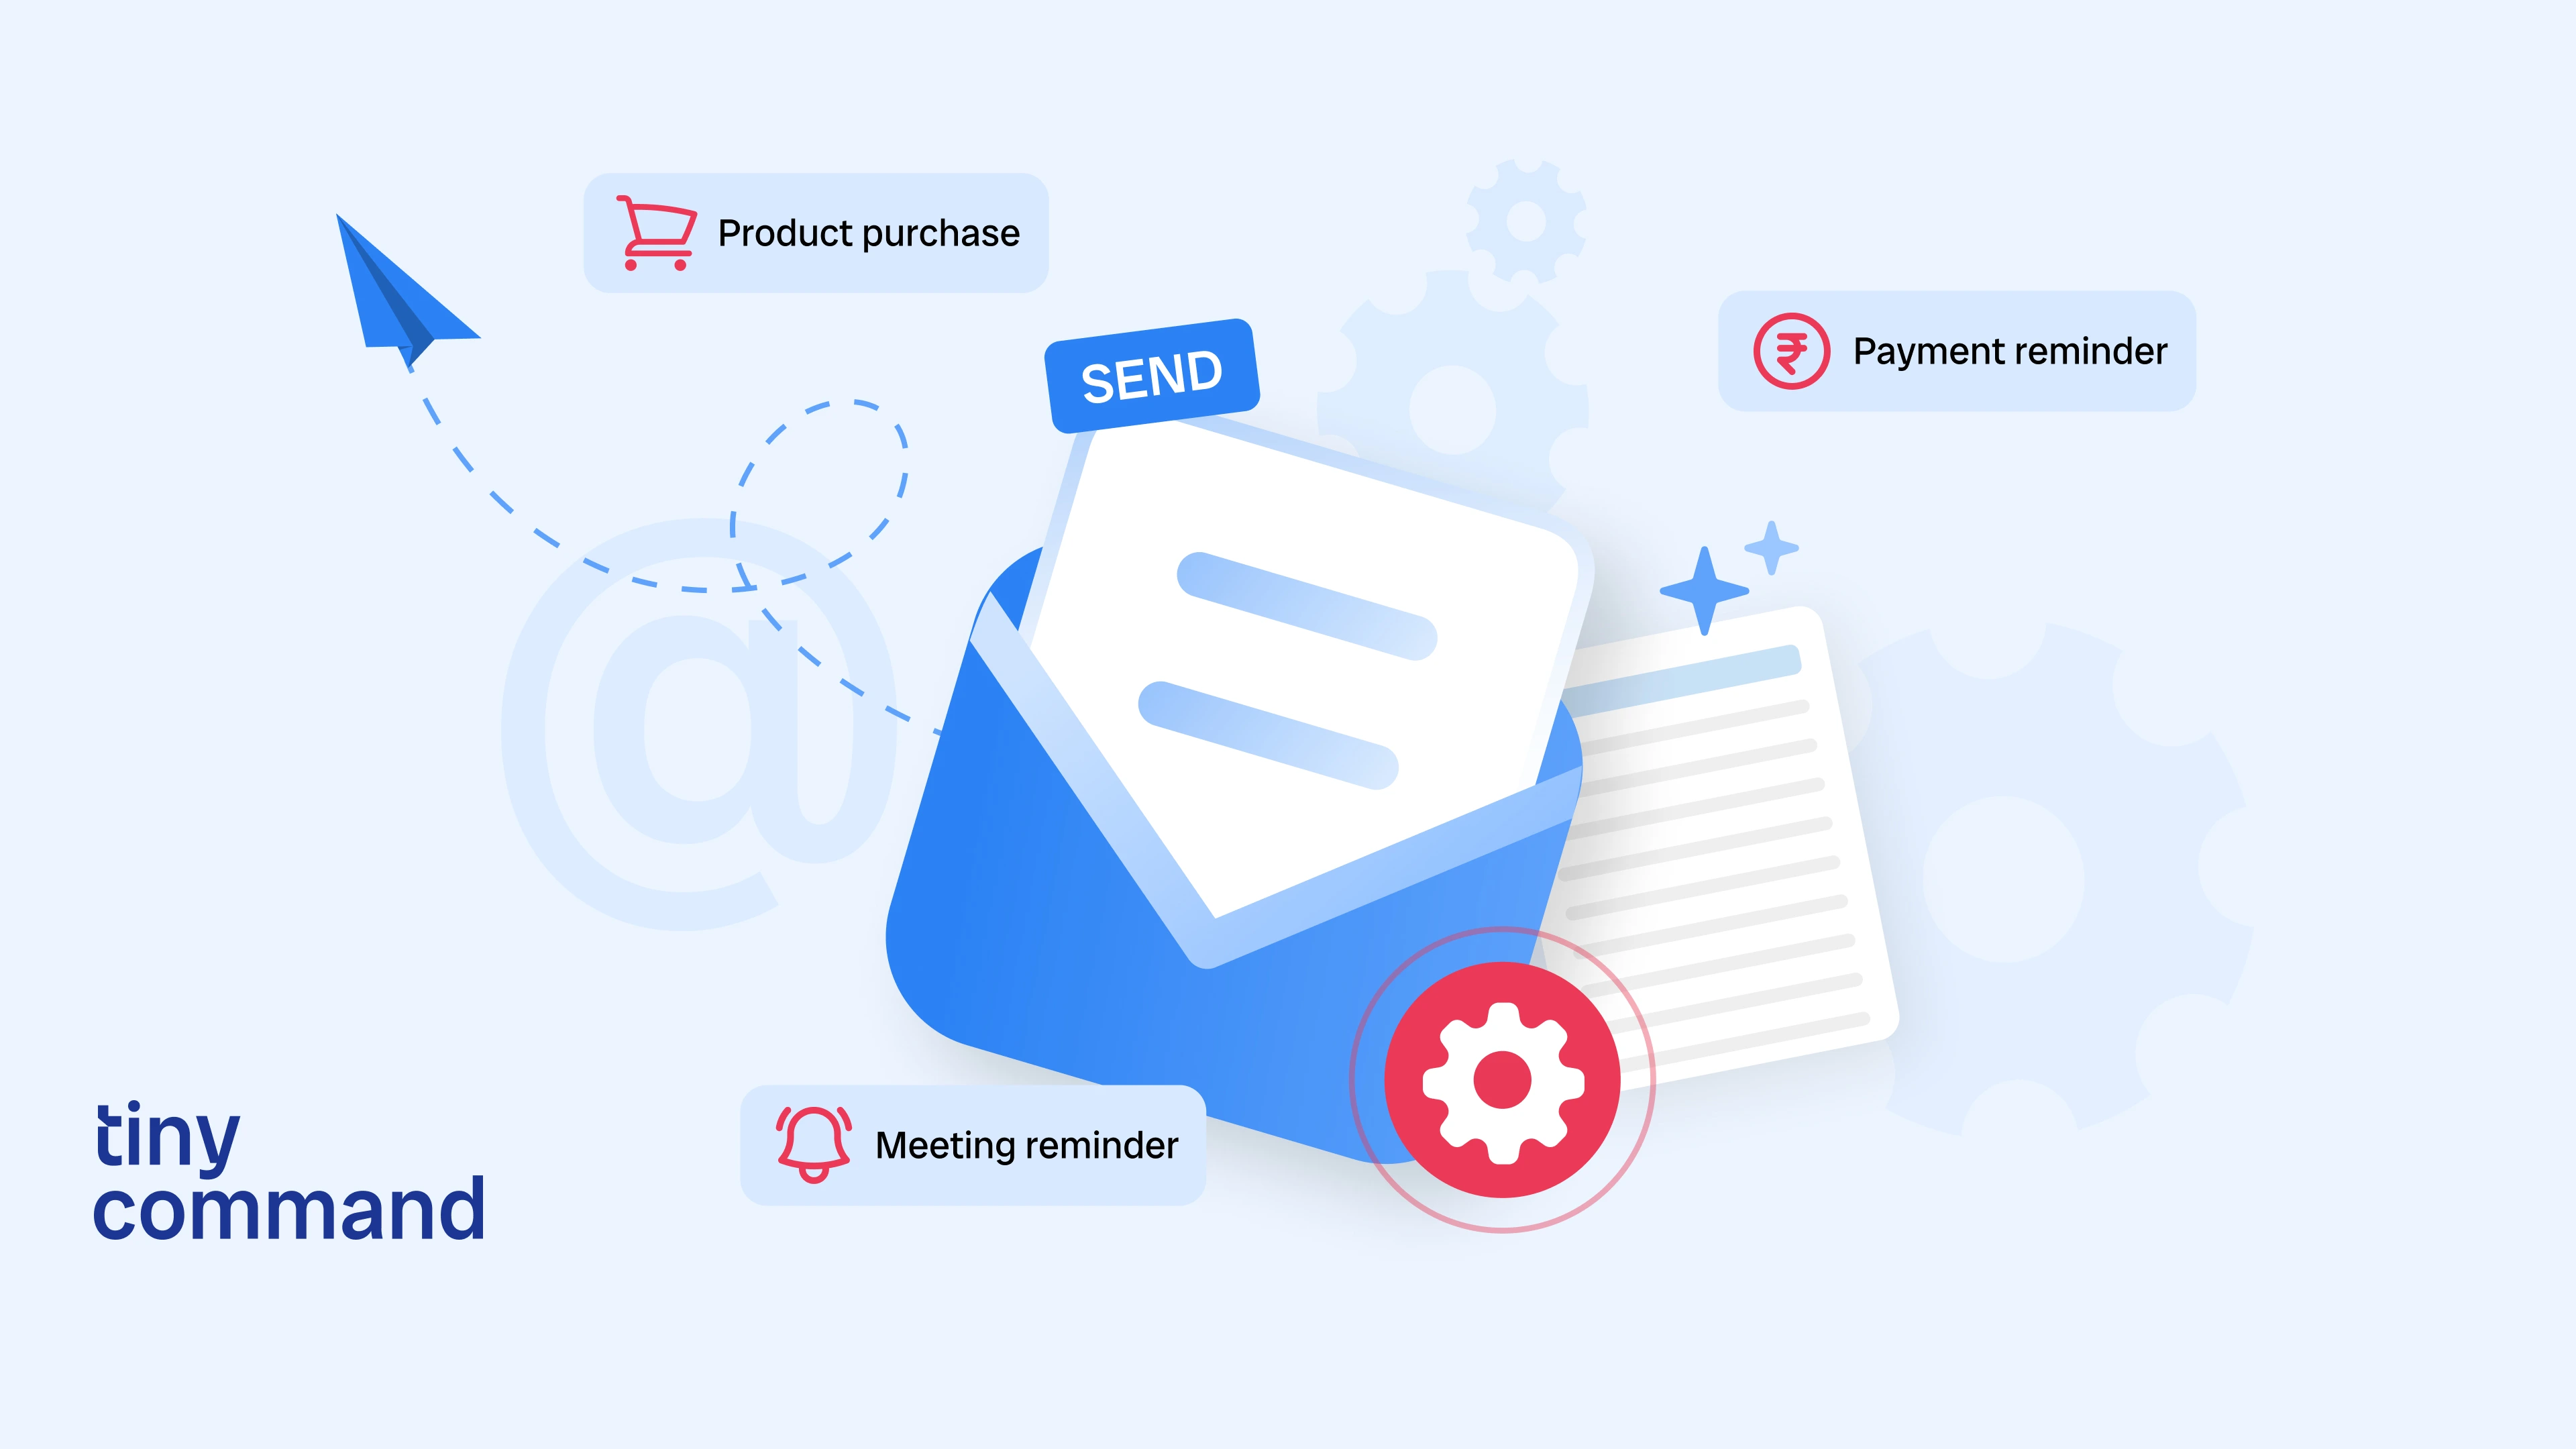
1. Triggers: The backbone of user-triggered email automation is triggers. These are specific actions or events, such as "starting points," which activate an email. Defining these exact triggers are crucial to ensure timely and relevant emails, a step towards creating meaningful user experiences.
Common examples include:
- Form submissions: A user submits a sign-up form.
- Cart abandonment: A customer leaves items in their cart without checking out.
- Milestones achieved: Anniversaries or reaching a specific loyalty tier.
2. Target audience segmentation: Effective email automation offers the ability to segment customers based on behavior, demographics, or preferences, allowing for higher levels of personalization.
For example, emails targeting new customers might focus on onboarding, while loyal customers could receive exclusive offers. Personalized, segmented emails often outperform generic ones in engagement and conversions.
3. Automation tools: The right tools should be selected to make this process seamless. There are automated workflow tools such as TinyCommand, HubSpot, and Mailchimp that make the procedure less complicated. For example, TinyCommand’s “drag-and-drop interface” (coupled with customization options) makes it particularly beginner-friendly for businesses aiming to set up email triggers without coding.
How to get started with user-triggered email automation
It can be intimidating at first, but breaking down user-triggered email automation into actionable steps makes it manageable and effective.
Step 1: Define your goals
Before you automate, define your goals. Do you want to increase sales, customer engagement, or leads over time? Defined objectives help guide your strategy.
For example, emails about cart abandonment would be the appropriate trigger if a conversion increase is needed. Connect these goals with your total marketing strategy to ensure they are cohesive and measured in the same frame.
Step 2: Map out user journeys
User journeys are the steps your customers take from their first interaction with your brand to their final goal, such as making a purchase. Mapping these journeys lets you pinpoint key moments where triggered emails can make an impact. Creating pathways helps you design automation workflows that effectively guide users through your funnel.
Consider these examples:
- A registered user did not complete the profile, and a gentle reminder can help with the completion.
- When customers browse products but don’t add anything to their cart, recommend trending or related products to re-engage them.
- Post-purchase emails to thank customers or introduce complementary products/services.
Step 3: Choose the right tool
Not all automation tools are created equal. Choose a platform that meets your needs to make your email triggers seamless.
Here’s what to consider:
- Ease of use: Utilize tools with easy-to-use interfaces and drag-drop for instant settings.
- Integration capabilities: Ensure the tool works with your existing CRM, e-commerce platform, or third-party apps.
- Analytics and reporting: Reporting or analytics help refine the campaign based on the campaign's performance.
TinyCommand stands out for its versatility. It can help a company capture, automate, and manage its data, and is ideal for small and fast-growing businesses.
Step 4: Create email templates
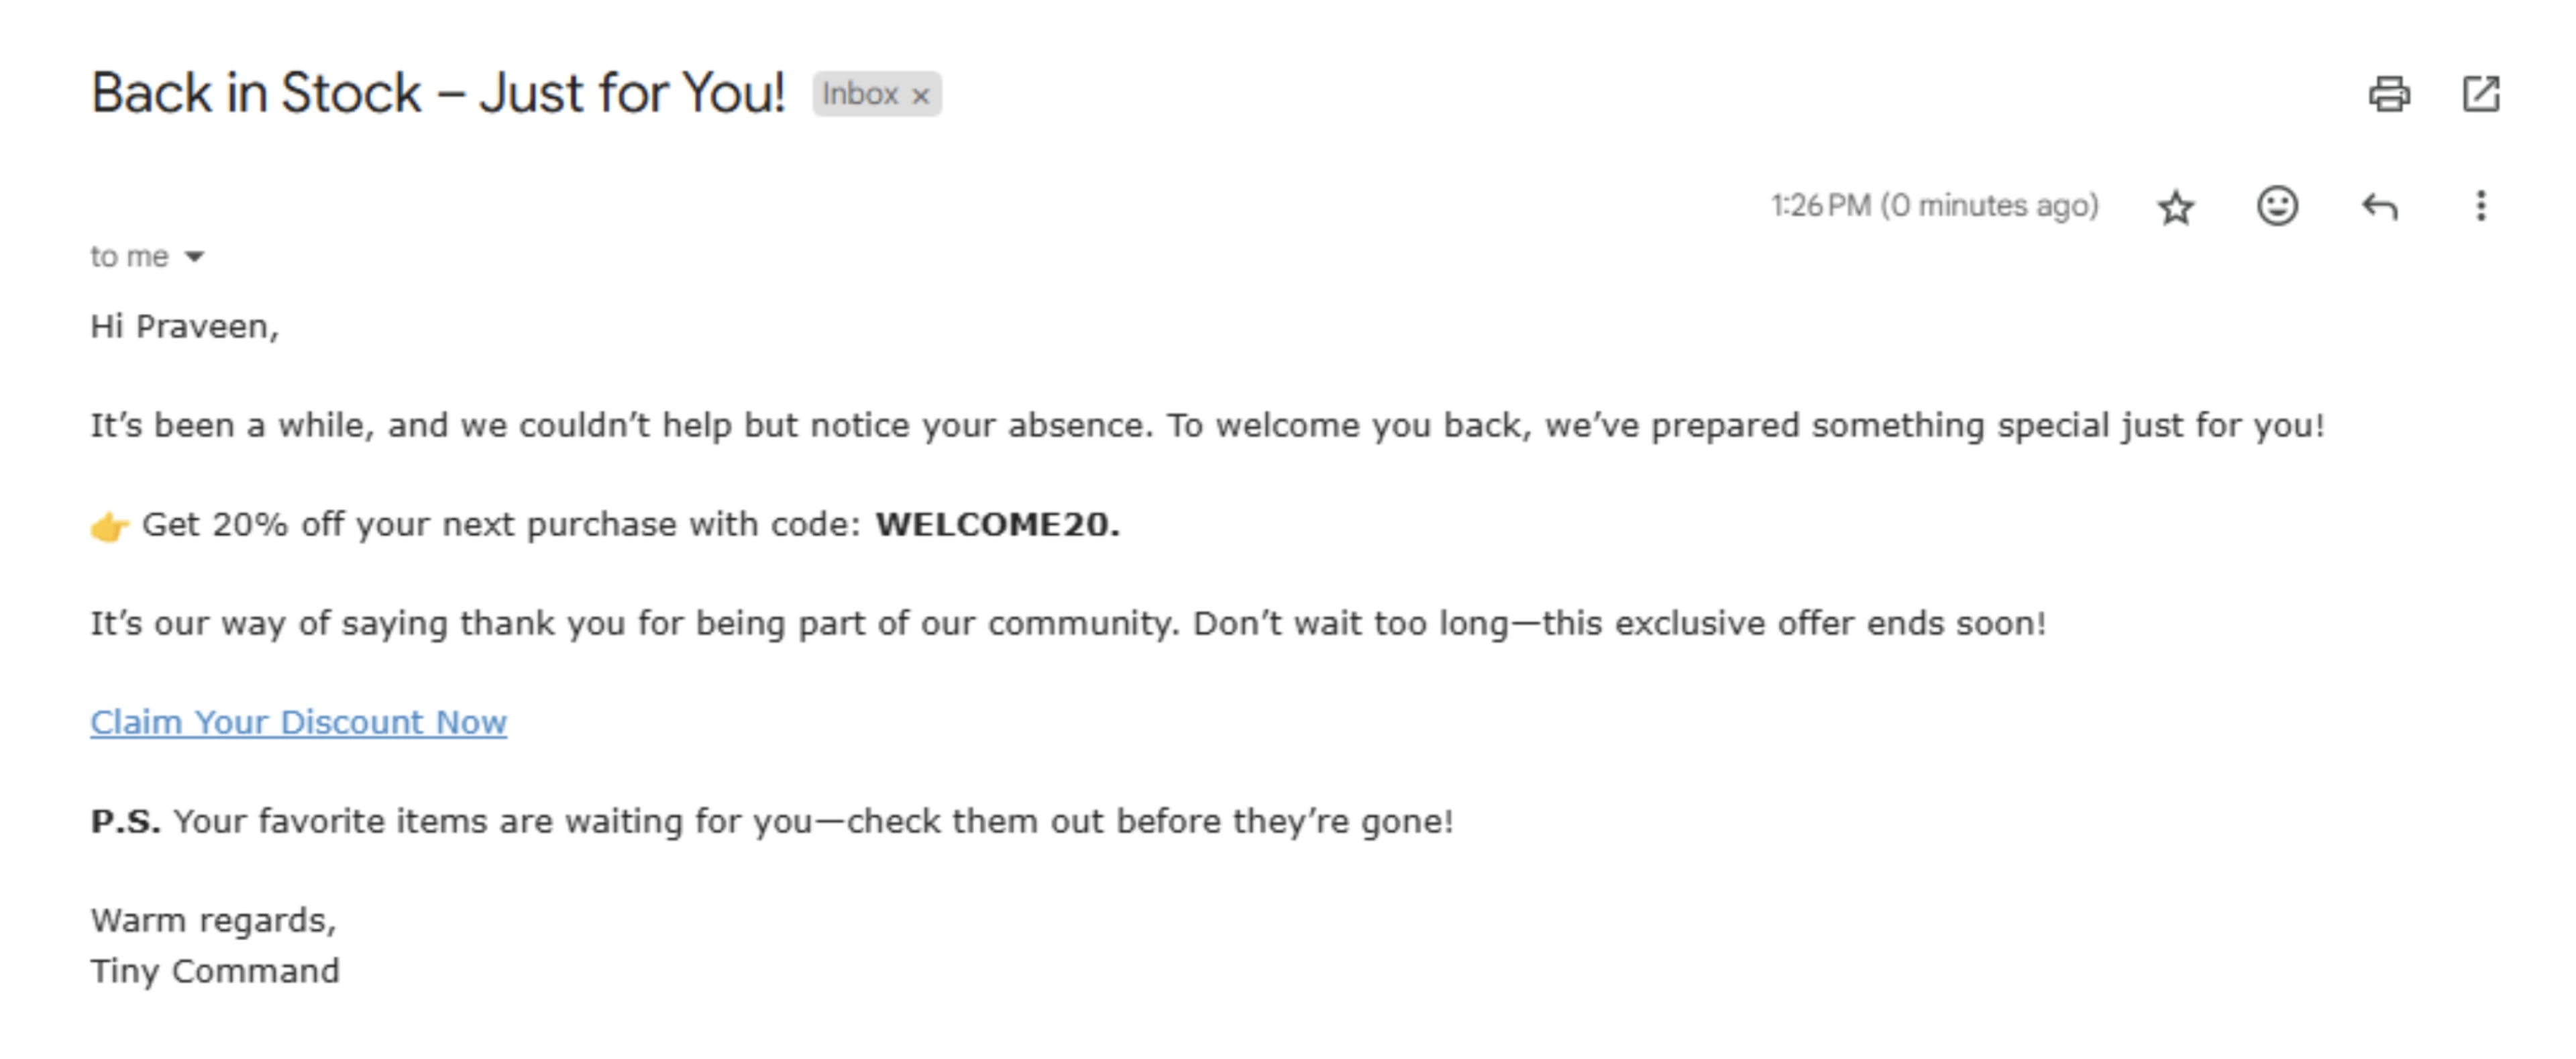
Templates are the backbone of your email campaigns. A well-designed email grabs attention and drives action, especially when customized to your brand identity. Use this flexibility to design emails that resonate with your audience.
Here’s how to make yours stand out:
- The subject line should be short but interesting, such as "We missed you!" or "Your favorite item is back."
- Personalize the content by addressing users by name or referring to recent purchase actions.
- Use clear CTAs (e.g., “Shop Now” or “Complete Your Profile”) to guide users to the next step.
Step 5: Test and refine
The work doesn’t stop after setting up your automation. Continuous testing and refinement ensure your campaigns perform at their best. You’ll create high-performing email workflows that deliver results by consistently analyzing results and making data-driven adjustments.
Here’s how:
- A/B testing: Test various subject lines and bodies to get better conversions.
- Monitor metrics: Monitor the open rates, click-through rates, and conversions.
- Adjust based on data: Use insights to tweak your emails. For example, revisit the content or timing if a specific trigger isn’t generating clicks.
User-triggered email automation is a game-changer for businesses, enabling timely and relevant communication that drives engagement and boosts conversions. By setting clear goals and refining strategies through analytics, businesses can create better user experiences and achieve measurable results. To maximize success, avoid common pitfalls like over-emailing, neglecting personalization, or skipping testing.
Looking to get started with email automation? Speak to our experts.